
Becoming a WIC-approved vendor is a serious commitment to community health, and it means meeting a laundry list of specific state and federal requirements. From what I’ve seen, the whole journey really boils down to three main stages: first, figuring out if your store is even eligible; second, pulling together a rock-solid application; and finally, passing an in-store inspection before you can start accepting any benefits.
It's a structured process for a reason—it makes sure every single retailer is properly equipped to support WIC families the right way.
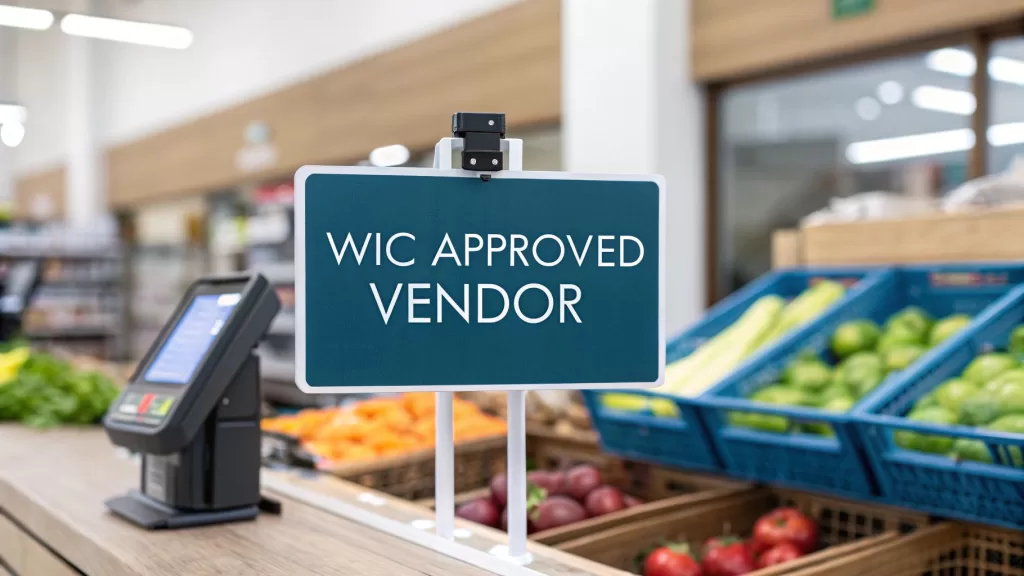
Your Path to Becoming a WIC Vendor
When you join the WIC program, you're not just stocking new items on your shelves. You become a crucial partner in public health, the final link connecting families with the nutrition they need. It's so much more than a business move; it's a real promise to improve nutrition security right in your own neighborhood. The process is tough on purpose. It's all about maintaining the program's integrity and making sure participants get the correct, high-quality foods every time.
As of 2024, WIC supports over 6.7 million participants a year. Despite that huge number, plenty of eligible families still run into roadblocks trying to get access. This is why the role of WIC's roughly 40,000 authorized retailers—everyone from massive supermarkets to the little corner grocer—is absolutely vital.
This visual breaks down the core stages you'll work through: checking eligibility, submitting your application, and getting that final green light.
Each step is a building block for the next one, which means careful prep work is key if you want to avoid getting stuck or facing long delays.
Understanding the Key Stages
Your journey begins way before you fill out a single form. It starts with a simple self-assessment to see if your store even meets your state’s specific criteria. This usually covers things like your store's location, its business integrity, and even your sales volume.
Once you’ve confirmed you're a good fit, you can dive into the application phase. Brace yourself, because this is where the real paperwork begins. You'll need to submit everything from your business license to super-detailed sales records. Your state agency uses all this info to slot your store into a peer group, which is how they figure out your reimbursement rates based on your store’s type and size. It’s a make-or-break step that directly shapes your finances as a vendor.
"A common mistake we see is vendors underestimating the peer group assessment. Accurately reporting your food sales is non-negotiable, as it sets the foundation for your reimbursement structure for the entire contract period." – Umoja Health Program Partner
To give you a clearer picture of the road ahead, here’s a typical breakdown of the application process.
WIC Vendor Application Stages at a Glance
This table outlines the common phases you'll encounter, along with a rough idea of how long each one takes and what you're trying to accomplish at each step.
| Phase | Key Objective | Estimated Timeline |
|---|---|---|
| Phase 1: Pre-Application & Eligibility | Verify your store meets all state-specific WIC criteria before applying. | 2-4 Weeks |
| Phase 2: Application Submission | Compile and submit all required documentation accurately. | 4-6 Weeks |
| Phase 3: Agency Review & Peer Grouping | The state agency reviews your application and assigns your store to a reimbursement peer group. | 8-12 Weeks |
| Phase 4: Store Inspection & Training | Pass an on-site inspection and complete mandatory staff training. | 2-4 Weeks |
| Phase 5: Contract & Authorization | Sign the vendor agreement and receive official authorization to accept WIC benefits. | 1-2 Weeks |
Remember, these timelines are just estimates. The actual process can be faster or slower depending on your state agency's workload and how buttoned-up your application is.
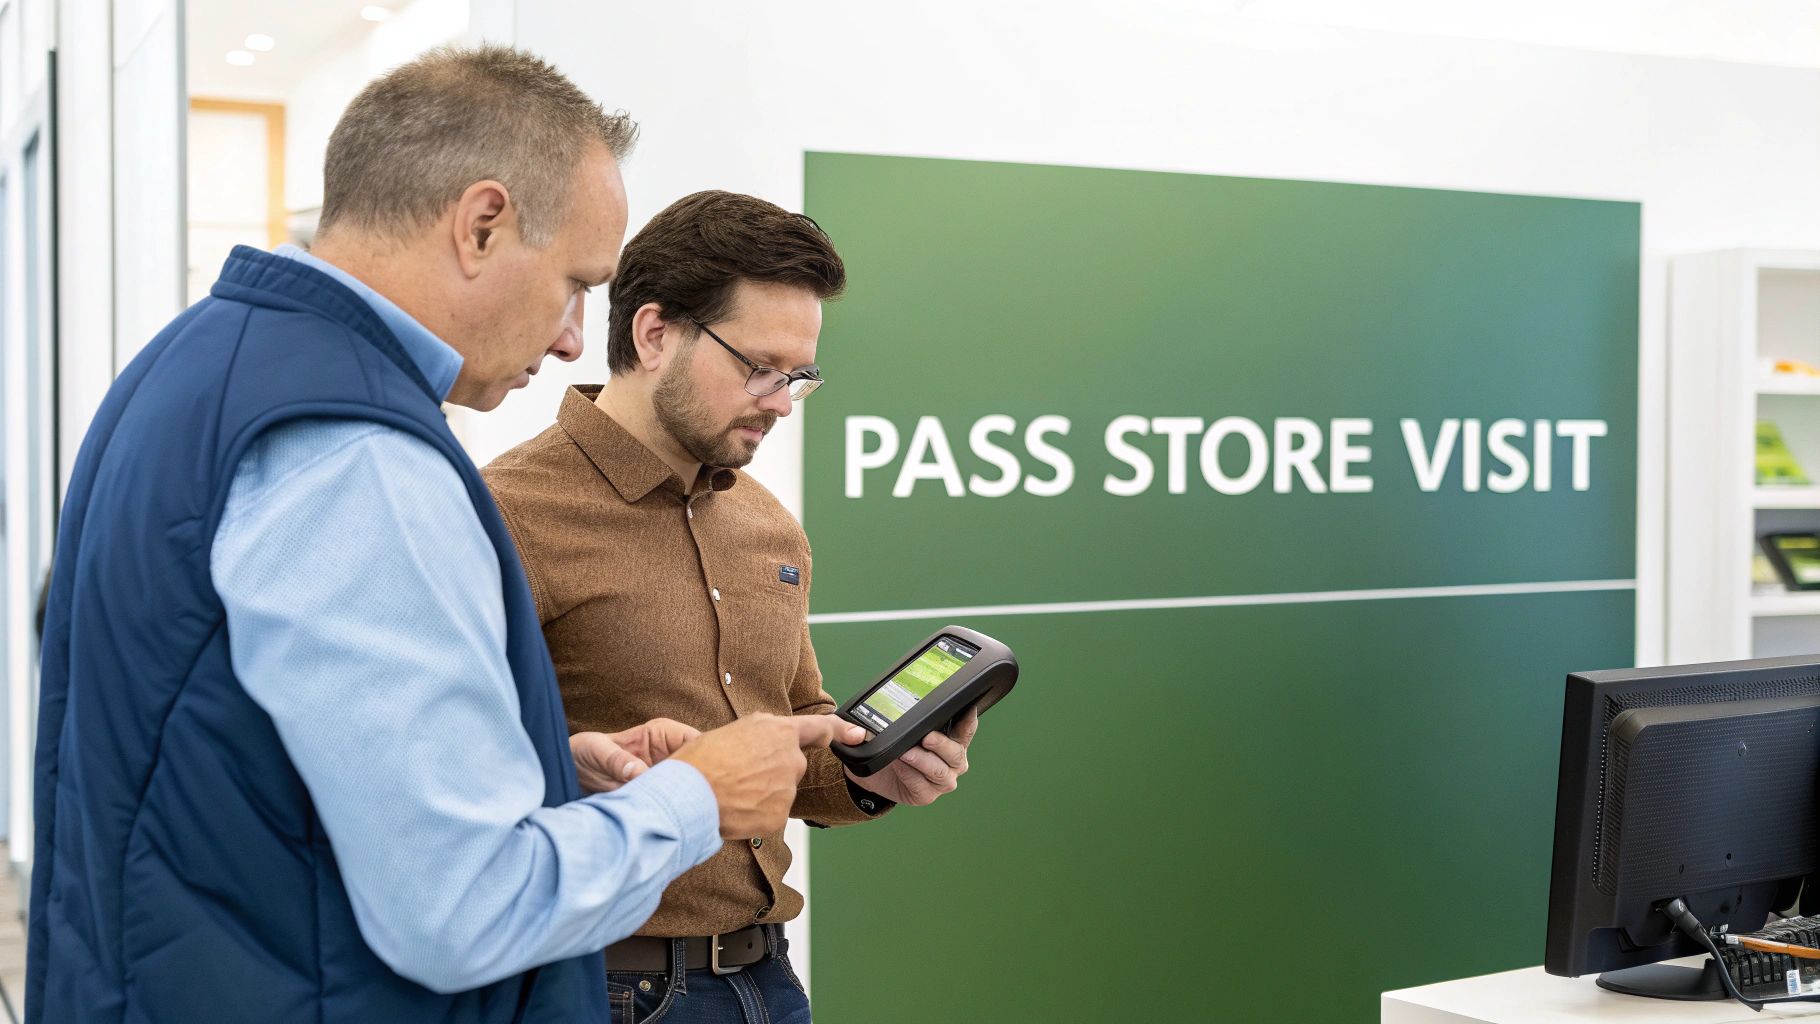
From Paperwork to Practice
After your application gets the thumbs-up, you're on the home stretch—but there are a couple more hurdles. The final steps are the store visit and the mandatory training. An inspector will physically come to your location to make sure everything checks out. They'll be looking at:
- Minimum Inventory: Do you have the right amount and variety of WIC-approved foods on your shelves? This isn't a suggestion; it's a requirement.
- Store Accessibility: Is the store clean, safe, and easy for participants to navigate?
- eWIC Readiness: Is your point-of-sale (POS) system set up and ready to process eWIC transactions without a hitch?
Finally, you and your key staff will need to complete required training. This session gets everyone up to speed on WIC transaction rules, participant rights, and all the compliance standards you'll be held to. Only after you’ve aced all of these steps will you get your official authorization and can finally start operating as a WIC vendor.
Conquering the Application and Documentation
This is where the rubber meets the road. Getting your application and all the necessary paperwork in order is arguably the most critical phase in your journey to become a WIC approved vendor. Your attention to detail here will be your greatest asset.
Think of it less as just filling out forms and more like building a compelling case for your store’s reliability and commitment to the community. You’re not just proving you exist; you’re showing the state agency you’re ready to be a dependable partner in public health.

Unpacking the Vendor Application
Before you write a single word, get organized. Your state agency will need a comprehensive file to verify every aspect of your store's legitimacy and operational history. I can't stress this enough: missing just one document can halt your progress for weeks, sometimes months.
Here’s a baseline of what you'll almost certainly need to have on hand:
- Business Licenses and Permits: Make sure every local and state license is current. An expired permit is an immediate red flag and will get your application kicked back.
- Federal Tax ID Number (EIN): This is non-negotiable for verifying your business with the IRS.
- Food Safety and Health Permits: You have to be in good standing with local health departments. No exceptions.
- Proof of Business Address: A recent utility bill or your current lease agreement typically does the trick.
- Annual Sales Figures: You'll need to report your total food sales. This is crucial because it’s used to place you in a "peer group" for reimbursement rates.
Remember, this isn't an exhaustive list. Every state has its own little quirks and specific requirements. Your first and most important step should always be to download the official, most current application packet directly from your state's WIC agency website. That is your single source of truth.
Stories from the Field: Common Hurdles
We’ve worked with countless retailers who hit frustrating, yet completely avoidable, snags during the application process. These "gotchas" almost always boil down to small details that create big headaches.
"One of our grocery partners in a rural area was delayed for nearly two months because their reported food sales figures didn’t match their tax filings. The state agency flagged the discrepancy immediately. It was a simple data entry error, but it required a full resubmission and pushed their approval back significantly." – An Umoja Health Partner
Another classic stumble is the point-of-sale (POS) system. Your application will ask about your eWIC processing capability. Don't just check a box and hope for the best. You need to be absolutely sure your system is certified by the state and that you're ready for a live demonstration. A self-conducted mock site visit can be invaluable for finding gaps in your readiness before the state does.
From Submission to Approval: Timelines
Once your application is in, the waiting game begins. You can generally expect the initial review to take anywhere from 30 to 90 days. During this time, the state agency is doing its due diligence—verifying your information, running background checks, and determining your peer group assignment.
To become a WIC-approved vendor in the United States, stores must comply with rigorous requirements designed to ensure that authorized retailers serve the nutritional needs of WIC program participants effectively. As of 2025, WIC-authorized vendors include a diverse range of retailers from large supermarkets to small grocery stores, with authorization processes managed at the state level under USDA guidelines. You can explore more about state-level vendor requirements for a deeper understanding of how these systems work.
After that initial review is complete, you’ll be contacted to schedule the on-site inspection and mandatory training sessions. Plan on this adding at least another few weeks to the total timeline.
Umoja Health helps partners navigate the complexities of government food programs, ensuring they have the support needed for a smooth and compliant process. Our experience with various WIC program initiatives can help you anticipate challenges and prepare effectively, turning a daunting process into a manageable one.
Mastering WIC Inventory Requirements
Having the right products on your shelves is a non-negotiable step to become a WIC approved vendor. This isn't just about stocking food; it's about stocking the exact foods that meet your state agency's specific guidelines.
Every state has what’s called an Approved Product List (APL). Think of this as your definitive guide to the brands, sizes, and types of items you absolutely must carry. It takes all the guesswork out of the equation.
Decoding Your State's Approved Product List
The APL is your new best friend. It’s a detailed breakdown of every WIC-eligible food category, designed to provide foundational nutrition for participants. While specifics vary by state, you can expect to see categories like these:
- Infant Formula and Foods: This is one of the most strictly regulated categories, with specific brands and types (e.g., milk-based, soy-based) required.
- Dairy Products: Milk, cheese, and yogurt have to meet very specific fat content and container size rules.
- Cereals: Only certain brands of breakfast cereals make the cut—typically those low in sugar and high in iron.
- Whole Grains: This includes items like 100% whole wheat bread, brown rice, and other approved grains.
- Fruits and Vegetables: You'll find fresh, frozen, and canned options on the list, but with strict rules about any added sugars or fats.
- Protein Sources: Staples like eggs, dried beans, and peanut butter are almost always included.
Getting a handle on these rules is essential, as they form the backbone of many important child nutrition programs. When you stock these items, you're directly contributing to the health of your community.
Inventory "Gotchas" We See All the Time
We’ve seen it time and again—small inventory details that cause major headaches for aspiring vendors. These are the regulatory "gotchas" that can completely derail an application or site visit if you're not prepared.
For example, one of our partners, a small independent grocer, nearly failed their site visit because of look-alike packaging. They had stocked a popular brand of yogurt that looked identical to the WIC-approved version, but it contained added sugars, making it ineligible. The inspector spotted it immediately. It’s a classic mistake: visual similarity doesn't equal compliance.
Another common hurdle is maintaining minimum stock levels, especially with fresh produce. A corner store we work with struggled to keep the required variety of fruits and vegetables on hand. Their solution? They built a relationship with a local supplier for smaller, more frequent deliveries. This simple change ensured they never fell below the state-mandated minimums.
To really get this right, you have to adopt effective inventory management best practices. It's the only way to efficiently handle WIC-eligible products and guarantee compliance.
"The APL is black and white. There's no room for 'close enough.' We tell our partners to scan every item with the state's WIC shopper app before stocking it. That simple check can save you from a failed inspection." – Umoja Health Compliance Specialist
The Importance of Clear Shelf Labeling
Once you have the right products, you have to make them easy for WIC shoppers to find. That's where shelf labeling—often called "shelf talkers"—comes into play. These are just small tags you place on the shelf to clearly point out WIC-approved items.
Most state agencies will provide official shelf talker images you can download and print. Some will even mail them to you for free. Using these labels not only helps WIC shoppers navigate your store with dignity but also signals to inspectors that you're all-in on the program's success. It’s a small detail that makes a huge impression.
Acing Your Store Visit and Training
The official on-site visit is your final exam before you can become a WIC approved vendor. This is when a state inspector walks through your store to confirm that everything you detailed in your application holds up in the real world.
Think of it as a pre-game walkthrough—your chance to prove you’re ready to serve WIC families correctly from day one.
Inspectors come prepared with a detailed checklist. They're not just looking for a clean store; they are verifying compliance on multiple fronts. They will check your inventory against the minimum stocking requirements, ensuring you have the right quantities and varieties of WIC-approved foods. They’ll also assess the freshness of your produce and dairy, the accuracy of your shelf tags, and the overall accessibility of your layout for shoppers.

Preparing for the Mock Site Visit
The technical side of the visit is where many vendors stumble. You must prove your eWIC processing system works flawlessly. The inspector will almost certainly run a mock transaction to see if your point-of-sale (POS) system can correctly identify WIC-eligible items and process a payment from an eWIC card.
This is not the time to discover a technical glitch.
"A partner of ours failed their first visit because of a simple POS mapping error. Their system wasn't recognizing the correct UPCs for a specific infant formula. The state required a full system reset and a second visit weeks later. It was a stressful, completely preventable delay." – Umoja Health Partner
To avoid this, run your own tests beforehand. Use your state’s WIC shopper app to scan items and make sure your inventory matches the Approved Product List (APL). Conduct mock transactions with your staff until they are comfortable handling mixed baskets containing both WIC and non-WIC items.
Mastering Mandatory Vendor Training
Once you pass the site visit, the final step is completing the mandatory vendor training. Don't treat this as just a formality; it's a critical education session that sets the rules for your participation in the program.
The training covers everything you and your staff need to know to stay compliant. Key topics often include:
- Transaction Procedures: The exact steps for processing eWIC payments, handling returns, and what to do if a card is declined.
- Participant Rights: Understanding how to provide respectful and non-discriminatory service to WIC shoppers.
- Compliance and Fraud: Learning to recognize and prevent WIC fraud, which protects both your store and the program's integrity.
- Record-Keeping: Understanding the documentation you need to maintain for WIC transactions and potential audits.
Typically, the store owner or a designated manager must attend, along with any staff members who will be regularly handling WIC transactions. To get your team fully prepared, it's vital to learn how to create effective training materials they can refer back to. After the training, you'll receive a certificate of completion—the final piece of documentation you need for full authorization.
Getting Paid: How eWIC Transactions and Processing Work
Once you're an approved WIC vendor, the game shifts to managing the day-to-day flow of transactions. Today, WIC is almost entirely electronic, running on a system called eWIC. This makes your point-of-sale (POS) terminal the absolute nerve center of your WIC operations. Getting this part right is non-negotiable for your cash flow and for staying compliant.
Here’s what happens in a split second: a participant swipes their eWIC card, and your POS system talks directly to the state's database. It checks every item in the cart against the Approved Product List (APL) tied to that family's specific benefits, confirming that only eligible foods are being purchased.
This real-time check is a huge advantage. It automatically catches common mistakes, like someone grabbing the wrong size cereal box or a brand of juice that isn't on the list. This simple validation protects you from compliance issues and saves the participant from a potentially awkward checkout experience.
From Checkout to Cash in the Bank
One of the biggest operational hurdles we see new vendors stumble over is the daily reconciliation process. We worked with a small grocer who was tearing their hair out because their end-of-day reports never matched their WIC sales, causing total chaos with their accounting.
The culprit? Their batch settlement process. They weren't closing out their WIC transactions in a separate, dedicated batch at the end of each day as their state required. This small procedural slip-up was delaying their payments by weeks and creating an accounting nightmare.
Don't let this happen to you. Mastering the daily settlement is key. Here’s the path your money takes:
- The Transaction: A WIC shopper buys approved items at your store.
- The Batch: At closing time, you bundle all of that day's eWIC transactions into a single electronic file.
- The Settlement: You send that file over to your state's eWIC processor.
- The Reimbursement: Funds are typically deposited directly into your bank account within 2-3 business days. Simple as that.
Handling Real-World Scenarios at the Register
Your cashiers are on the front lines, so they need to be ready for anything. The most common situation is the "mixed basket"—a cart with both WIC and non-WIC items. Your POS system should be set up to handle this gracefully, automatically separating the items, applying the eWIC benefits, and then prompting for another payment method for the rest.
Another frequent occurrence is a rejected item. If the system flags something as ineligible, your cashier needs the training to calmly and politely explain why. Even better, they should be able to help the participant find a WIC-approved alternative that's in stock.
"Your POS system is your first line of defense against compliance errors. But it's only as good as the training your staff receives. A well-trained cashier who can explain a transaction issue with empathy is invaluable." – Umoja Health Partner
The WIC program has come a long way since it started back in 1974. The move to eWIC and electronic product codes has been a game-changer for vendors, massively boosting accuracy and efficiency. This push for innovation is a constant topic at industry events like the National WIC Association’s annual conference, where you can learn more about vendor best practices.
Reading Your Reimbursement Statements and Disputing Claims
A couple of days after you settle a batch, you’ll get a reimbursement statement. Think of this as your WIC report card. It breaks down every single transaction you were paid for. It's absolutely crucial to review these statements and make sure they line up with your store's sales records.
Once in a while, you might see a rejected claim. This isn't necessarily a cause for panic, but you need to know why it happened. Common reasons include:
- A technical glitch during the transaction.
- The item wasn't on the APL when it was sold (sometimes lists get updated).
- The transaction was flagged for a potential compliance review.
If a claim gets rejected, you have the right to appeal. The process usually involves filing a formal dispute with your state WIC agency and providing evidence like transaction receipts and inventory records. Knowing how to navigate this process ensures you can stand up for your store and get the money you've rightfully earned.
Most Frequently Asked Questions
Diving into the WIC vendor process is going to bring up questions. It's totally natural. We hear a lot of the same ones from new partners, so we've put together some straightforward answers based on what we've seen in the real world.
How Long Does the WIC Approval Process Take?
The timeline can vary quite a bit from state to state, but a good rule of thumb is to brace yourself for a multi-month journey. From the moment you send in your application to getting that final green light, you’re likely looking at anywhere from 60 to 120 days.
So what's with the wide range? The two biggest variables are how clean your application is and how backed up the state agency is. We saw this with one of our partners, a grocer in a dense urban area, who had a 90-day wait simply because the agency was swamped.
"The most common delay we see is a simple mistake on the application. Missing a signature or submitting an outdated business license can easily add three to four weeks to your wait time. Double-checking every single detail before you hit 'submit' is the best way to speed up the process." – Umoja Health Program Partner
What Are the Top Reasons Applications Get Denied?
Most denials boil down to a few key issues—and nearly all of them are avoidable. The number one culprit is failing to meet the minimum inventory requirements. This could mean you don't have enough variety on the shelves, or you're short on the required quantity of specific WIC foods when the inspector shows up.
Another major red flag is a history of compliance problems. If your store has past violations with other programs like SNAP, expect your WIC application to be put under a microscope. Lastly, not having a fully functional eWIC system ready to demonstrate during the site visit is often an immediate "no." Meticulous preparation is your best defense.
Can My Store Offer Online Ordering for WIC?
Online ordering is the next big thing for WIC, but it’s not quite primetime yet. While the USDA has been running pilot programs and a few states are rolling out their own initiatives, it's far from standard practice.
Getting authorized for online sales is handled exclusively by your state WIC agency. It requires very specific, certified technology to make sure every transaction is secure and by the book. If online WIC sales are part of your business plan, your first step is to check directly with your state to see if they even have an approved program and what the technical specs are.
What If I Make a Mistake During a WIC Transaction?
Mistakes are going to happen, especially when your cashiers are new to the system. The good news is that most modern eWIC systems have built-in guardrails to prevent common errors, like trying to ring up a non-approved item.
When an error does get through, it’s crucial to follow the exact protocol from your vendor training. This typically involves a few key steps:
- Void the transaction right away if you catch it at the register.
- Document the error in detail if it's discovered later.
- Contact the WIC agency to report what happened and ask for guidance.
Because a pattern of mistakes can trigger a full compliance review, solid staff training is non-negotiable. Your best bet is to rely on your POS system's safeguards and empower your team with the knowledge to handle things correctly from the start.
At Umoja Health, we help our partners navigate the operational details of government food programs, providing the tools and expertise needed for a smooth and compliant process. Learn how our solutions can simplify your journey at https://umojahealth.com.